
Why Your 3D Prints Keep Failing (And How to Fix It)
Disclosure: This post contains affiliate links. If you purchase through these links, we may earn a small commission at no extra cost to you.
Most 3d print failures are caused by one of two things: poor first-layer adhesion or inconsistent extrusion. If your print detaches from the bed, it’s usually a leveling or cleanliness issue. If the print looks "stringy" or has gaps, you are likely dealing with a clogged nozzle or incorrect slicer settings. Most of these issues can be solved with a few simple adjustments to your hardware and software.
A Note to the Frustrated Maker
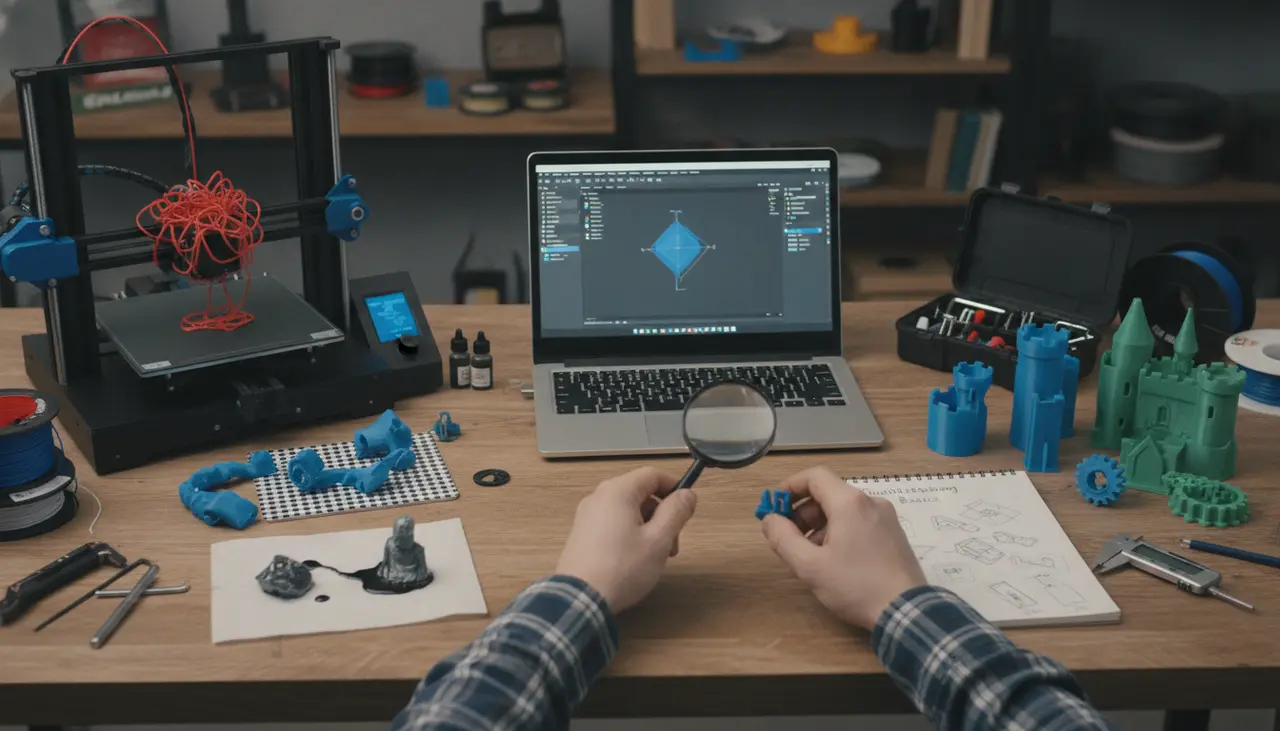
If you’ve just walked into your hobby room only to find a "spaghetti monster" where your beautiful model should be, take a deep breath. We have all been there. 3D printing is a journey of patience, and every failed print is actually a data point helping you become a better maker. This guide is designed for the creative hobbyist who is tired of the trial-and-error and wants a clear path to successful, reliable prints.
Common Failure Symptoms and Solutions
Before we dive into the "why," let’s look at the "what." Identifying the symptom is the first step toward the cure.
| Symptom | Primary Cause | Quick Fix |
|---|---|---|
| Print detaches mid-way | Poor bed adhesion | Clean bed with IPA; check leveling |
| Thin, wispy layers | Under-extrusion | Check for nozzle clog; increase temp |
| "Spaghetti" mess | Print lost contact with bed | Use adhesive spray; add a "brim" |
| Rough, scarred top surface | Over-extrusion | Calibrate E-steps; check flow rate |
| Layers shifting sideways | Loose belts | Tighten X or Y axis belts |
1. The Foundation: Mastering Bed Adhesion
In the world of FDM printing, the first layer is everything. If it doesn’t stick, nothing else matters.
Cleanliness is Key
The natural oils from your fingers are the enemy of bed adhesion. Every time you touch your build plate, you leave behind a microscopic layer of oil that prevents PLA or PETG from sticking.
- The Fix: Wipe your build plate with 90% Isopropyl Alcohol (IPA) before every print. If you haven't cleaned it in a while, a warm scrub with dish soap (like Dawn) and water can work wonders.
Leveling (Tramming) the Bed
Most beginners struggle with "leveling," which is actually the process of making the bed perfectly parallel to the nozzle’s path. If the nozzle is too far, the plastic won't squish; if it's too close, it will scrape the bed.
- The Fix: Use the "paper test" to ensure a consistent gap across all four corners. If you're finding that your stock hardware just won't stay level, you might consider 5 Essential Upgrades for Your First 3D Printer: Smoother Prints on a Budget to help stabilize your machine.
Using Adhesives
Sometimes, even a clean, level bed needs a little help, especially with materials like PETG that tend to warp.
- The Recommendation: A light mist of specialized 3D printing adhesive spray or a simple purple glue stick can provide that extra "bite" needed for long prints.
2. Extrusion Woes: When the Plastic Won't Flow
Extrusion issues are the second most common cause of 3d print failures. This usually manifests as clicking sounds from the extruder or gaps in your print walls.
The Clogged Nozzle
Over time, burnt filament or dust can build up inside your nozzle.
- The Fix: Try a "cold pull" (Atomic Method) to pull out the debris. If that doesn't work, nozzles are inexpensive consumables. Keeping a pack of spare 0.4mm brass nozzles on hand is a lifesaver for any hobbyist.
Choosing the Right Material
Sometimes the failure isn't the printer—it's the material choice for the job. Different filaments require vastly different temperatures and cooling settings. If you’re just starting out and having trouble with warping, you might want to revisit PLA vs PETG: Which Filament Should You Start With? to ensure you're using the most beginner-friendly option.
3. Slicer Settings: The "Brain" of the Operation
Software like Cura or PrusaSlicer tells your printer exactly what to do. If your settings are off, your hardware can't save the print.
- Print Speed: Slow down! For beginners, printing the first layer at 15-20mm/s can solve 80% of adhesion issues.
- Retraction: If you see "stringing" (fine hairs between parts of the print), your retraction distance might be too low.
- Temperature: If your layers are brittle and falling apart, try increasing your nozzle temperature by 5-10 degrees Celsius.
Common Beginner Mistakes to Avoid
- Touching the Build Plate: As mentioned, keep those oily fingers away from the print surface!
- Ignoring Filament Moisture: If you hear "popping" sounds while printing, your filament has absorbed moisture. Store your spools in airtight bins with desiccant.
- Walking Away Too Soon: Always watch the first 2-3 layers finish. If a failure is going to happen, it usually happens early.
- Buying the Cheapest Filament: Ultra-cheap filament often has inconsistent diameters, leading to mysterious clogs. Stick to reputable brands on Amazon or MatterHackers.
Troubleshooting FAQ
Q: Why does my print look like a bird's nest? A: This is the classic "spaghetti" failure. It happens when the print loses adhesion to the bed and the printer continues to extrude plastic into thin air. Focus on your bed leveling and cleaning.
Q: My printer is making a clicking noise. What is that? A: That is your extruder skipping. It’s trying to push filament, but it can't. This is usually caused by a nozzle clog, a nozzle that is too close to the bed, or a printing temperature that is too low.
Q: How often should I level my bed? A: For most budget printers like the Ender 3, you should check your level every 3-5 prints, or anytime you have trouble with the first layer. If you've just bought your machine, checking out The Best 3D Printers for Beginners This Year: Start Your Making Journey Today can give you an idea of which models offer "Auto-Bed Leveling" to make this process easier.
Final Thoughts
Don't let a few 3d print failures dampen your creative spirit. Every expert maker you see online has a bin full of failed prints behind them. By focusing on a clean bed, a level surface, and quality filament, you’ll be well on your way to consistent, beautiful prints. Happy making!